The Role of Technology in Making Handcycle Travel More Accessible
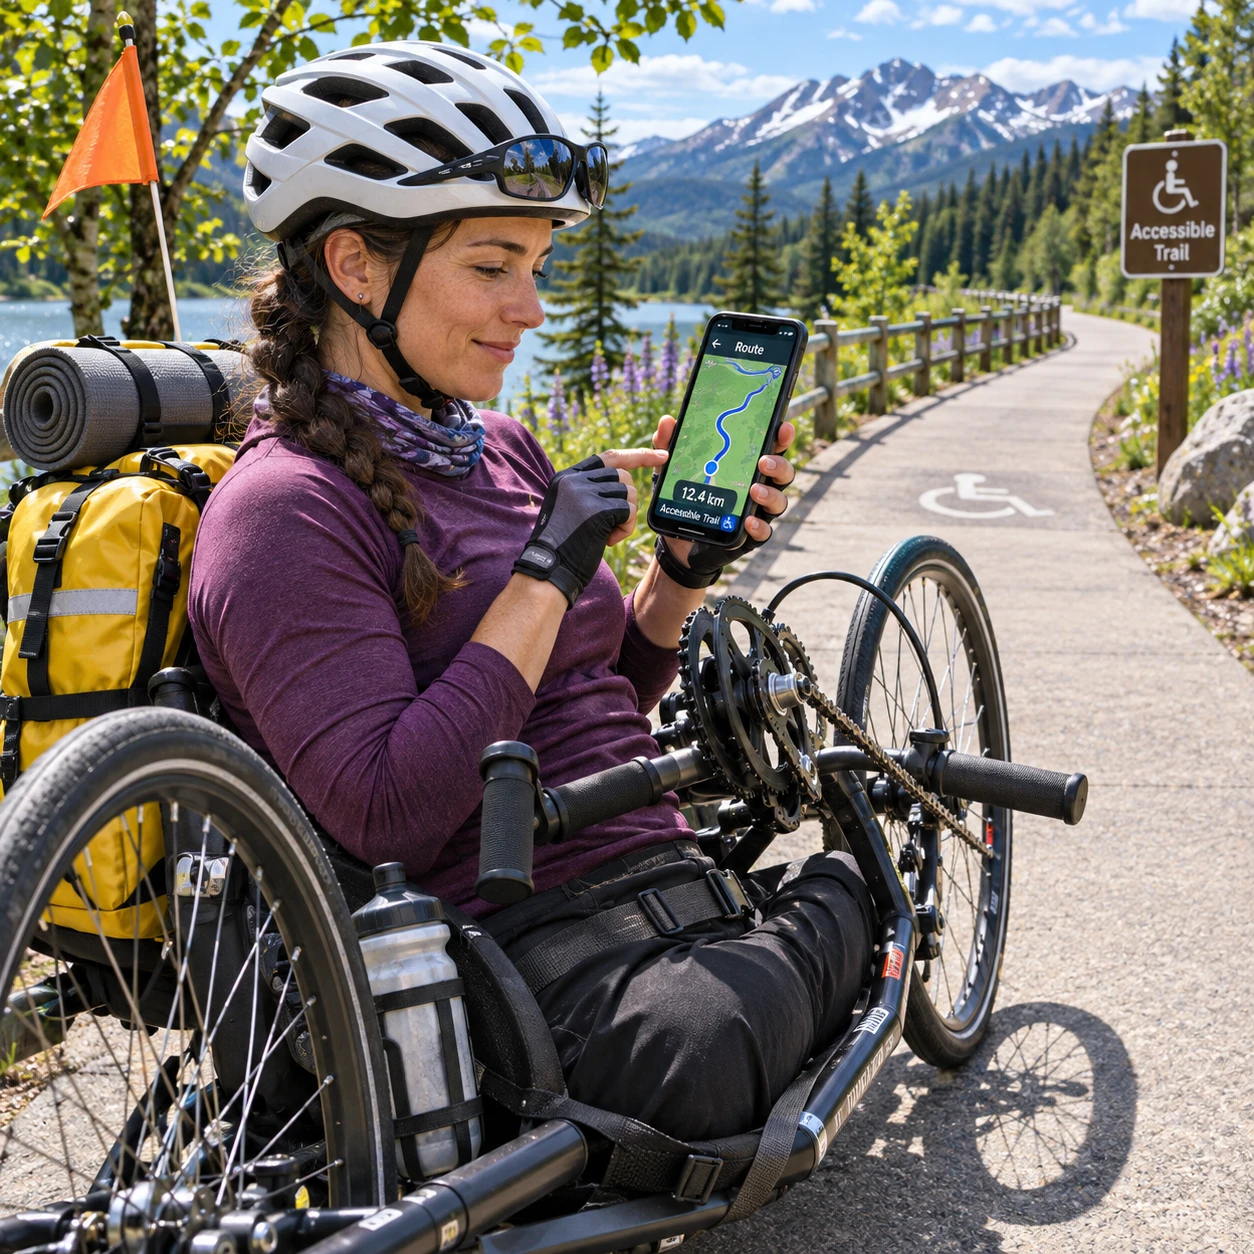
Technology can make a handcycle expedition easier to research, navigate, and adapt when plans change. Route maps, GPS navigation, travel apps, and adaptive equipment help travelers assess barriers before setting out, but no app can guarantee that a path, vehicle, or room will meet a particular person’s needs.
The most reliable approach combines digital information with direct conversations, local knowledge, and a backup plan. That matters because access is personal: a steep gravel slope may be manageable for one handcyclist and a serious obstacle for another, depending on equipment, strength, experience, and conditions.
How technology can reduce travel barriers
Technology can reduce travel barriers by helping handcyclists find useful information, prepare equipment, and make informed decisions before and during an expedition. It can save time and increase independence, while leaving room for individual needs and changing conditions.
Planning a multi-day trip involves more than choosing a destination. Travelers may need to check surfaces and gradients, identify mobility-accessible transport, confirm accessible accommodation, and work out how to carry or secure a handcycle. Digital maps and travel apps bring some of these details together, while communication tools make it easier to ask specific questions.
Think of technology as a barrier-checking system. For each stage of the trip, ask three questions: What could prevent me from continuing? What information or tool could reduce that risk? What will I do if the tool or plan fails?
- Before departure: Compare routes, contact providers, and document access details.
- On the road: Use GPS navigation, weather updates, and messaging to adjust plans.
- When something goes wrong: Use saved contacts, offline directions, and a practical backup option.
Assistive technology may also support communication, reading, or device access, depending on the traveler’s preferences. Yet an accessible label in an app is only a starting point. A route marked suitable for cycling might still include a narrow gate or a surface that does not work for a particular handcycle.
Finding routes that work for a handcycle
To find a route that works for a handcycle, compare mapping data with terrain details and verify critical sections with someone who knows the area. A line on a screen cannot show every barrier that affects real-world access.
Start with the trip’s practical limits: daily distance, expected climbing, surface preference, turning space, and the handcycle’s dimensions. Then use route-planning tools to review distance, elevation profiles, road types, and connections to services. GPS navigation can help with orientation, but the best route is not always the shortest one. A longer route with firm surfaces and fewer steep grades may be safer and less tiring.
Look for details that standard maps often miss: bollards, gates, narrow bridges, loose gravel, steep ramps, construction, and sections where a rider must share a busy road. Check whether paths are open to cycles and whether access restrictions change seasonally. Recent photographs, local cycling groups, trail managers, and visitor information services can add useful context.
Before committing to a long or remote stretch, seek confirmation for the sections that matter most. Ask about surface material, clear width, gradient, and any obstacles. Save the route for offline use, and carry a second navigation option, such as a paper map or a separate GPS device. If a route depends on mobile service, identify safe places to pause and reroute.
Planning transport and accommodation
Plan mobility-accessible transport and accommodation by confirming the exact space and equipment arrangements you will need, rather than relying on a general accessibility label. A brief call or message can uncover practical details a booking page leaves out.
For trains, buses, ferries, or accessible taxis, ask the operator about boarding arrangements, advance notice, securement, and whether the handcycle can travel assembled. Give the equipment’s dimensions and weight where relevant, and clarify whether it will be treated as mobility equipment or luggage under that provider’s rules. Policies and vehicle layouts differ, so verify each leg of the journey, including transfers.
For accommodation, confirm step-free access along the full route from arrival to the room, not only at the entrance. Ask about doorway and bathroom access, turning space, bed height if it matters, and a secure place to store the handcycle. If you need to charge batteries, verify that a suitable outlet is available and that the charging arrangement is permitted.
- Request current photos or measurements of a feature that is essential to you.
- Ask who will meet you and what happens if your arrival time changes.
- Keep written confirmation of access arrangements and the provider’s contact details.
Specific questions produce more useful answers. Instead of asking, “Is the room accessible?”, explain what you need to enter, transfer, turn, store equipment, or charge. An accommodation may suit one traveler and not another; your own criteria should guide the booking.
Adaptive equipment and on-the-road support
A handcycle and other adaptive cycling equipment can make independent travel possible, while communication and repair tools help manage ordinary expedition problems. The right setup depends on the rider, route, and length of the trip.
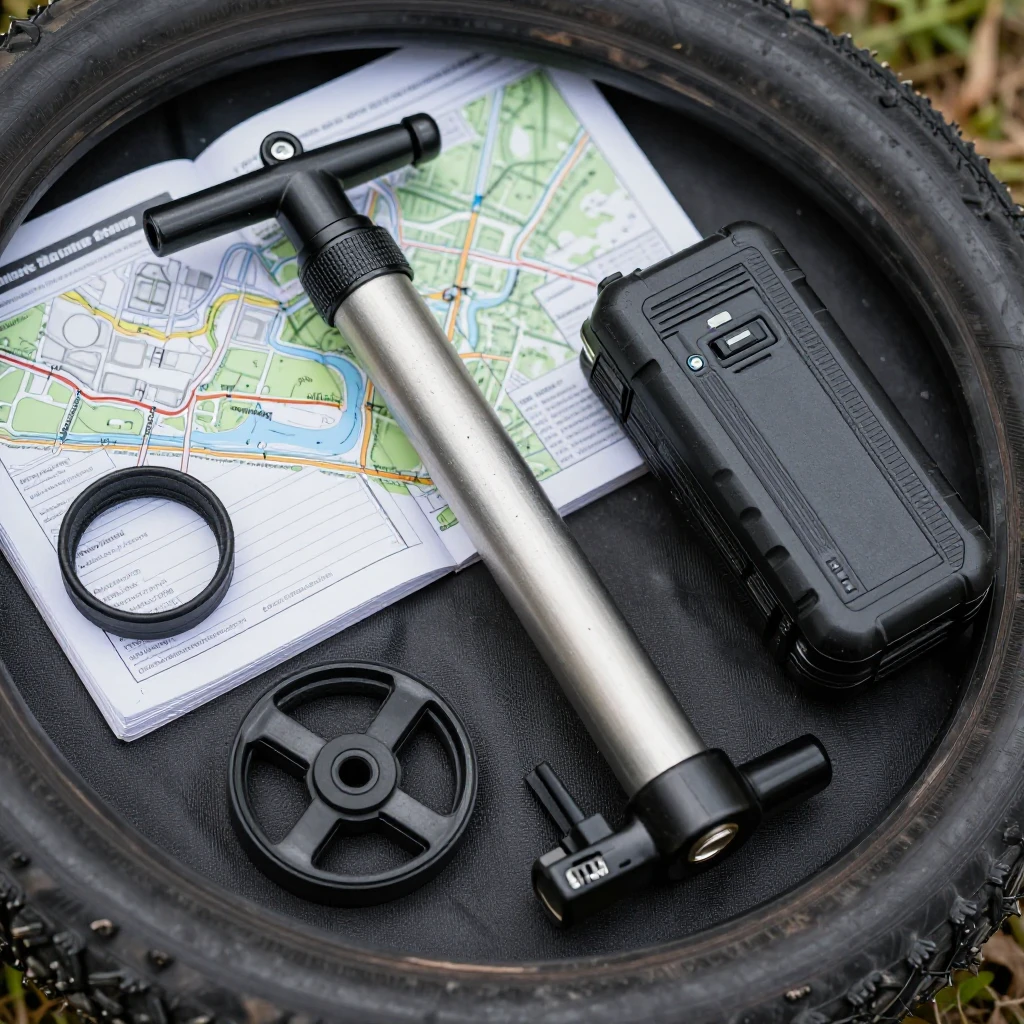
Before departure, inspect the handcycle’s fit and key components, including tires, brakes, chain or drivetrain, steering, and any straps or supports used by the rider. Carry compatible essentials such as a pump, tire-repair kit, multitool, and spare parts chosen for the equipment. A small repair kit is useful only if you know how to use it and can carry it safely.
For powered equipment, check the manufacturer’s guidance on batteries, charging, and transport. Estimate daily energy needs using your own experience, then leave a margin for hills, cold weather, detours, or delays. Confirm charging access at overnight stops rather than assuming that a nearby outlet will be available. Keep essential chargers and adapters accessible, and avoid relying on a single battery or power source when a failure would leave you stranded.
A phone can provide navigation, translation, and contact with local support, but it also needs power and connectivity. Store emergency contacts and key trip details offline. If you use a power bank, check that its capacity and transport rules suit your journey. For remote routes, agree on check-in times with someone you trust and identify where you can get assistance.
Using technology without relying on it completely
Technology works best as support, not as a guarantee of access. Maps can be outdated, accessibility details may be incomplete, and devices can lose power or signal at exactly the wrong time.
Access information also changes. A trail may be under repair, a lift may be out of service, or a hotel may have changed room layouts. Before departure, contact the people responsible for the route, transport, or accommodation and confirm the details that could affect your plans. Local cycling organizations and residents can often explain conditions that a map does not capture.
Watch for three common planning mistakes:
- Trusting a single accessibility label: Labels vary in meaning. Ask about the specific feature you need and request measurements or current photos where useful.
- Depending on live navigation: Mobile coverage can disappear. Download maps and directions in advance, and carry a second way to navigate.
- Underestimating power needs: A low battery can affect navigation, communication, or powered equipment. Plan charging stops and a fallback before you leave.
There is a trade-off in every backup: carrying spare equipment adds weight, while traveling with fewer reserves increases dependence on local services. Choose based on how remote the route is, how critical the equipment is, and how quickly you could get help. Keep judgment in the loop; if conditions differ from what you were told, reassess rather than pressing on because the app says the route is clear.
A practical technology checklist for an expedition
A practical technology checklist covers route verification, provider confirmation, offline information, charging, and contingencies. Complete it before departure, then revisit the plan when conditions or travel arrangements change.
- Route: Save your route offline, review elevation and surfaces, and note gates, closures, and alternative paths.
- Transport: Confirm boarding, handcycle storage, transfer arrangements, and any advance-notice requirements with each provider.
- Accommodation: Verify the access features you need, secure equipment storage, arrival arrangements, and charging access.
- Equipment: Check the handcycle, pack compatible repair supplies, and know how to handle common faults.
- Power and connectivity: Charge devices, pack necessary cables and power banks, and save maps, addresses, and contacts for offline use.
- Contingencies: Identify a shorter route, a safe place to wait, a way to contact help, and a person who knows your itinerary.
For every essential function, decide what you will do if the technology fails. If your phone is your only navigation tool, print or write down key directions. If an overnight charging point is uncertain, confirm it before booking or identify another stop. If a route has one difficult crossing, ask about an alternative before arriving there.
Accessible handcycle travel is built from practical decisions, not a perfect app. Use technology to find options and stay informed, then verify the details with providers and people who know the ground. That combination gives an expedition a stronger foundation and more room to adapt when the real journey differs from the plan.