How to Organize an Inclusive Handcycle Expedition from Start to Finish
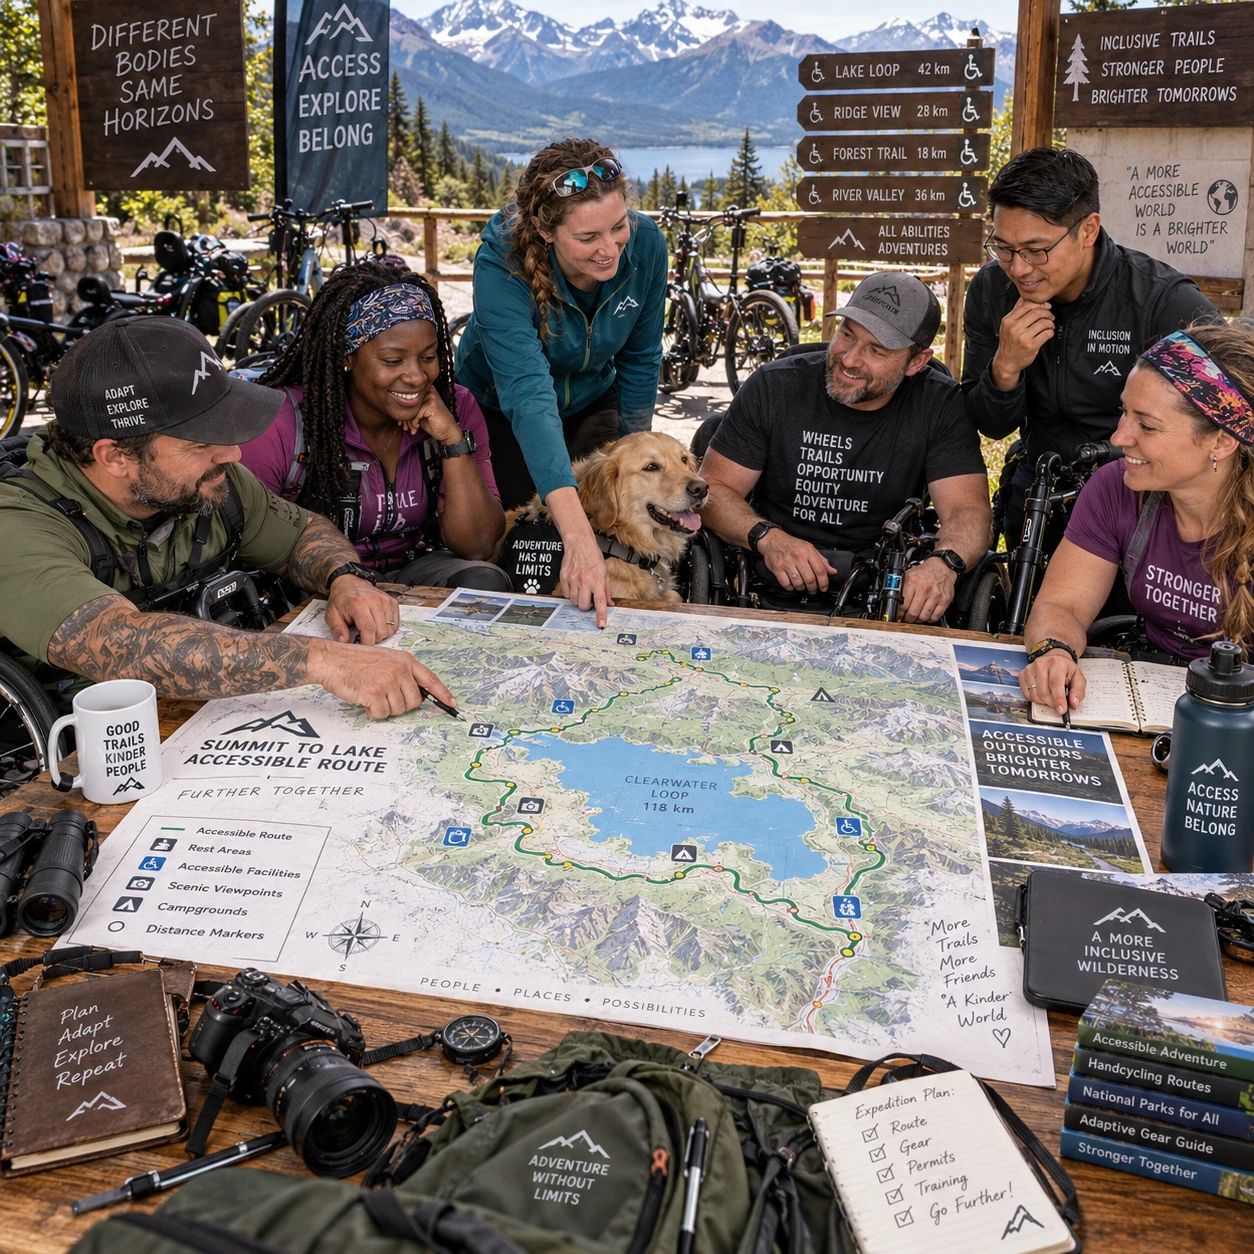
An inclusive handcycle expedition takes shape long before anyone clips into a cycle. Its route, equipment, transport, staffing, and safety arrangements all depend on who is taking part and what they want from the trip. Plan these elements together, with disabled participants involved in decisions from the earliest conversations through the post-expedition review.
The sequence below helps turn an initial idea into a practical project. Treat it as a planning framework, not a universal checklist: participants have different priorities, and a setup that works well for one rider may be wrong for another.
Start with purpose, participants, and shared decisions
Begin an inclusive handcycle expedition by agreeing on its purpose with the people who will take part. Their priorities should shape the format, pace, access arrangements, and measures of success.
Clarify what the group wants to achieve. The aim might be a multi-day journey, a first supported ride, a community challenge, or time outdoors with other handcyclists. That purpose affects the distance, terrain, staffing, and budget. It also helps distinguish a meaningful objective from an ambitious itinerary that leaves little room for rest or changes.
Consult intended participants before settling those details. Offer more than one way to contribute, such as a video call, phone conversation, written questions, or an accessible in-person meeting. Ask about experience with handcycles, preferred travel pace, communication requirements, access needs, food and medication considerations, and what would make someone feel comfortable raising a concern. Explain how their input will influence decisions.
Co-design means sharing real choices, not asking for feedback after the route and dates are fixed. Make a short decision record showing what participants requested, what the team agreed, and what remains uncertain. Where needs conflict, discuss options openly rather than assuming one arrangement will suit everyone. Confirm a contact person and an agreed way to update participants as plans change.
Build a realistic route and accessibility plan
An accessible handcycle route plan checks the full journey, including surfaces, gradients, distance, rest stops, facilities, transport, and backup options. Assess likely barriers with participants and, where possible, ride or inspect the route before committing.
Map daily distances alongside elevation and surface conditions. A route that looks short on a map may become demanding on rough pavement, steep climbs, or exposed roads. Check path width, gates, traffic crossings, road shoulders, construction, and places where a handcycle can safely turn around. Confirm which sections work for the specific cycles and riders involved; there is no single route standard that guarantees suitability for every participant.
Plan regular opportunities to stop, drink, eat, use facilities, and adjust equipment. Verify accessible toilets and rest areas directly, including opening hours and the approach from the path. A facility listed as accessible may still have a narrow entrance or a route that is difficult to reach. Give the group accurate information so each person can decide what works for them.
- Record route segments, surface, gradient, distance, and known barriers.
- Identify accessible pickup points and alternative routes around closures or difficult sections.
- Check how riders, handcycles, luggage, and support vehicles will move between stages.
- Share route details in a useful format, including maps and clear notes about uncertain sections.
Include transport and accommodation in the route assessment. Confirm boarding arrangements, securement for mobility equipment, vehicle capacity, step-free access, room layouts, and charging or storage needs where relevant. Keep a shorter option or rest-day plan available. Flexibility can add cost and coordination, but it is safer than treating every schedule change as a failure.
Choose equipment and assemble the right team
Choose handcycles and adaptive equipment to fit each rider, the route, and the travel plan, then assign clear roles to a prepared support crew. Equipment choice and staffing should reflect participant input rather than a one-size-fits-all assumption.
Confirm each participant’s handcycle, seating and positioning needs, controls, transfer preferences, and any adaptations well before departure. Arrange a fitting or familiarization ride where possible. Check brakes, tires, chain or drivetrain, fasteners, and any accessories before the expedition; pack suitable tools and identify who can carry out basic repairs. Specialist equipment may improve comfort and control, but it can also require extra transport space, maintenance, or technical support.
Set out support crew responsibilities in writing. Depending on the trip, roles may include ride lead, rear support, mechanic, transport coordinator, first-aid lead, and participant liaison. One person can hold more than one role on a small expedition, but do not leave safety-critical duties unclear. Agree how the crew will communicate with riders, what happens if someone wants to stop, and who can make an operational change.
Before the trip, review the plan with participants and staff together. Confirm that everyone knows how to report discomfort, request assistance, or choose a different option without pressure. The crew supports participants’ decisions; it should not make personal choices on their behalf.
Budget, book, and prepare for different needs
A realistic handcycle expedition budget covers equipment, transport, accommodation, food, staffing, insurance, and contingency costs. Price access requirements before booking, then verify details with providers rather than relying on general descriptions.
List costs by trip stage so omissions are easier to spot. Include handcycle hire or transport, spare parts, support-vehicle fuel, accessible transfers, accommodation, meals, staff time, first aid supplies, insurance, and any permits or activity fees. Add a contingency for repairs, replacement transport, unexpected accommodation, or route changes. The right reserve depends on the trip’s length, remoteness, and available services; state what it can be used for and who approves spending.
When comparing accommodation or transport, ask specific questions. Confirm vehicle dimensions and securement, step-free routes, room and bathroom layouts, lift availability, and whether assistance animals or equipment storage can be accommodated. Request written confirmation of important arrangements, and recheck them close to departure. A lower price may be a poor value if the booking cannot support the group’s access needs.
Share a clear preparation pack in accessible formats. It can include itinerary, route notes, packing guidance, emergency contacts, costs, meal plans, and what the project provides. Invite participants to identify missing information privately as well as in a group setting. Be transparent about what the budget cannot cover, and discuss alternatives before participants incur costs.
Make safety and contingency planning part of the project
A handcycle expedition safety plan identifies likely hazards, sets practical controls, and explains how the group will respond to emergencies or changing conditions. Build it with participants and the crew, then make sure everyone knows how to raise a concern.
Assess risks across the whole journey, including traffic, steep or loose surfaces, fatigue, weather, equipment failure, and gaps in mobile coverage. For each meaningful risk, record who will monitor it, what could reduce the chance of harm, and what the group will do if it occurs. An assessment should guide decisions, not create a false promise that every hazard can be removed.
Agree on check-in points, communication methods, emergency contacts, meeting locations, and how support vehicles will reach riders. Confirm who carries first-aid supplies and who is responsible for contacting emergency services. For remote sections, plan what happens if a rider or cycle cannot continue. Rehearse key steps where useful, especially vehicle loading and equipment recovery.
Set clear decision triggers for weather, route closures, or fatigue. For example, identify in advance who checks an official forecast and when the group will switch to a shorter route or indoor alternative. Avoid requiring participants to justify a request to stop or change plans. A supportive safety culture treats early communication as good judgment.
Run the expedition, gather feedback, and follow up
Run the expedition with regular participant check-ins, a willingness to adapt, and a clear record of changes. Afterward, gather feedback, review outcomes, and share what the project learned with the people who took part.
At the start of each day, review the route, weather, rest points, transport, and any changes to equipment or staffing. During the ride, check in at agreed intervals and offer private ways to raise concerns. Keep the schedule flexible enough to respond to the group’s pace. If a route becomes unsuitable, use the planned alternative rather than pressing on to meet a target that no longer serves the participants.
After the expedition, ask participants what worked, what created barriers, and what they would change. Offer a choice of formats and allow time to respond after the trip. Ask about the journey as a whole, including planning, handcycles, crew communication, transport, accommodation, food, and the process for requesting adjustments. Separate personal feedback from public stories or photographs, and get permission before sharing any participant’s experience.
Close the project by reviewing goals, spending, incidents and near misses, route notes, and feedback. Share a concise summary with participants and explain which recommendations will inform future trips. This makes post-expedition feedback useful: it becomes a concrete change to the next route, booking process, equipment plan, or crew briefing.
Frequently asked questions
When should participants be involved in planning?
Involve participants as soon as the expedition is being considered, before dates, routes, and budgets become fixed. Early consultation gives the group a genuine chance to shape the project and helps organizers identify access costs while options are still open.
What should an accessible handcycle route assessment cover?
Assess distance, gradients, surface, width, gates, crossings, traffic, rest stops, toilets, pickup points, and possible diversions. Check route suitability for the actual participants and handcycles, rather than relying on a general accessibility label.
How can an expedition plan for equipment breakdowns or route changes?
Inspect equipment before departure, carry suitable repair tools and spare parts, and assign someone to manage repairs. Record alternate routes, pickup points, and a process for changing the day’s plan if weather, closures, fatigue, or a mechanical issue makes the original route unsuitable.
What should be included in a handcycle expedition budget?
Include handcycles and adaptations, transport and securement, accommodation, meals, support crew, insurance, repairs, supplies, and permits or fees. Add a clearly managed contingency for disruptions, and confirm accessibility details before paying nonrefundable costs.